Dell has a series of thin clients that might not be well known in the public eye; however, in the corporate world, the Dell Wyse series is often used and preferred as a quick way to deploy a desktop in the office, which is fully running on the cloud or a hybrid cloud infrastructure. As the corporate world moves on and upgrades to a newer solution, this is when the homelab community or tinkerers come in and are given access to a greatly capable machine for next to nothing (definitely cheaper than RaspberryPi 4), that allows for infinite possibilities, for learning and automating one’s house and networking.
One such great use case for these devices is their ability to run Pi-Hole, which is an ad-blocking and tracker-blocking application (acting as a DNS sinkhole). Once it’s set and done, you can forget it exists, yet enjoy some semblance of privacy (there is no such thing as total privacy these days).
There are a few nuances to running Pi-Hole on Dell Wyse thin clients, that are scattered all over internet, that I wanted to bring into a single place. Let’s begin.

Preparing the equipment.
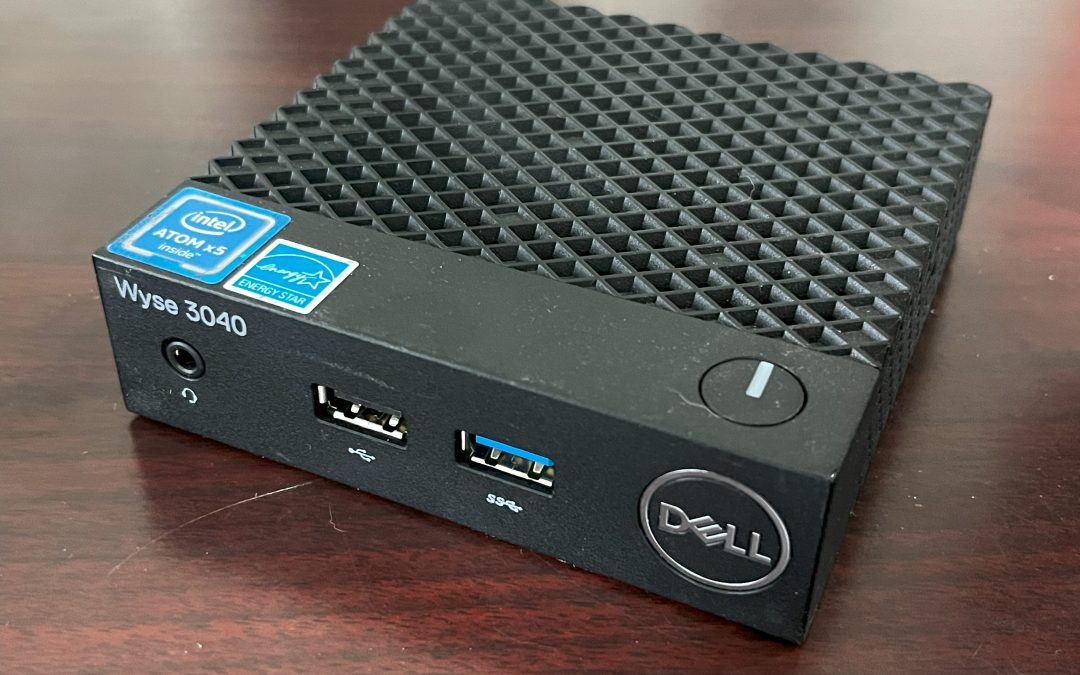
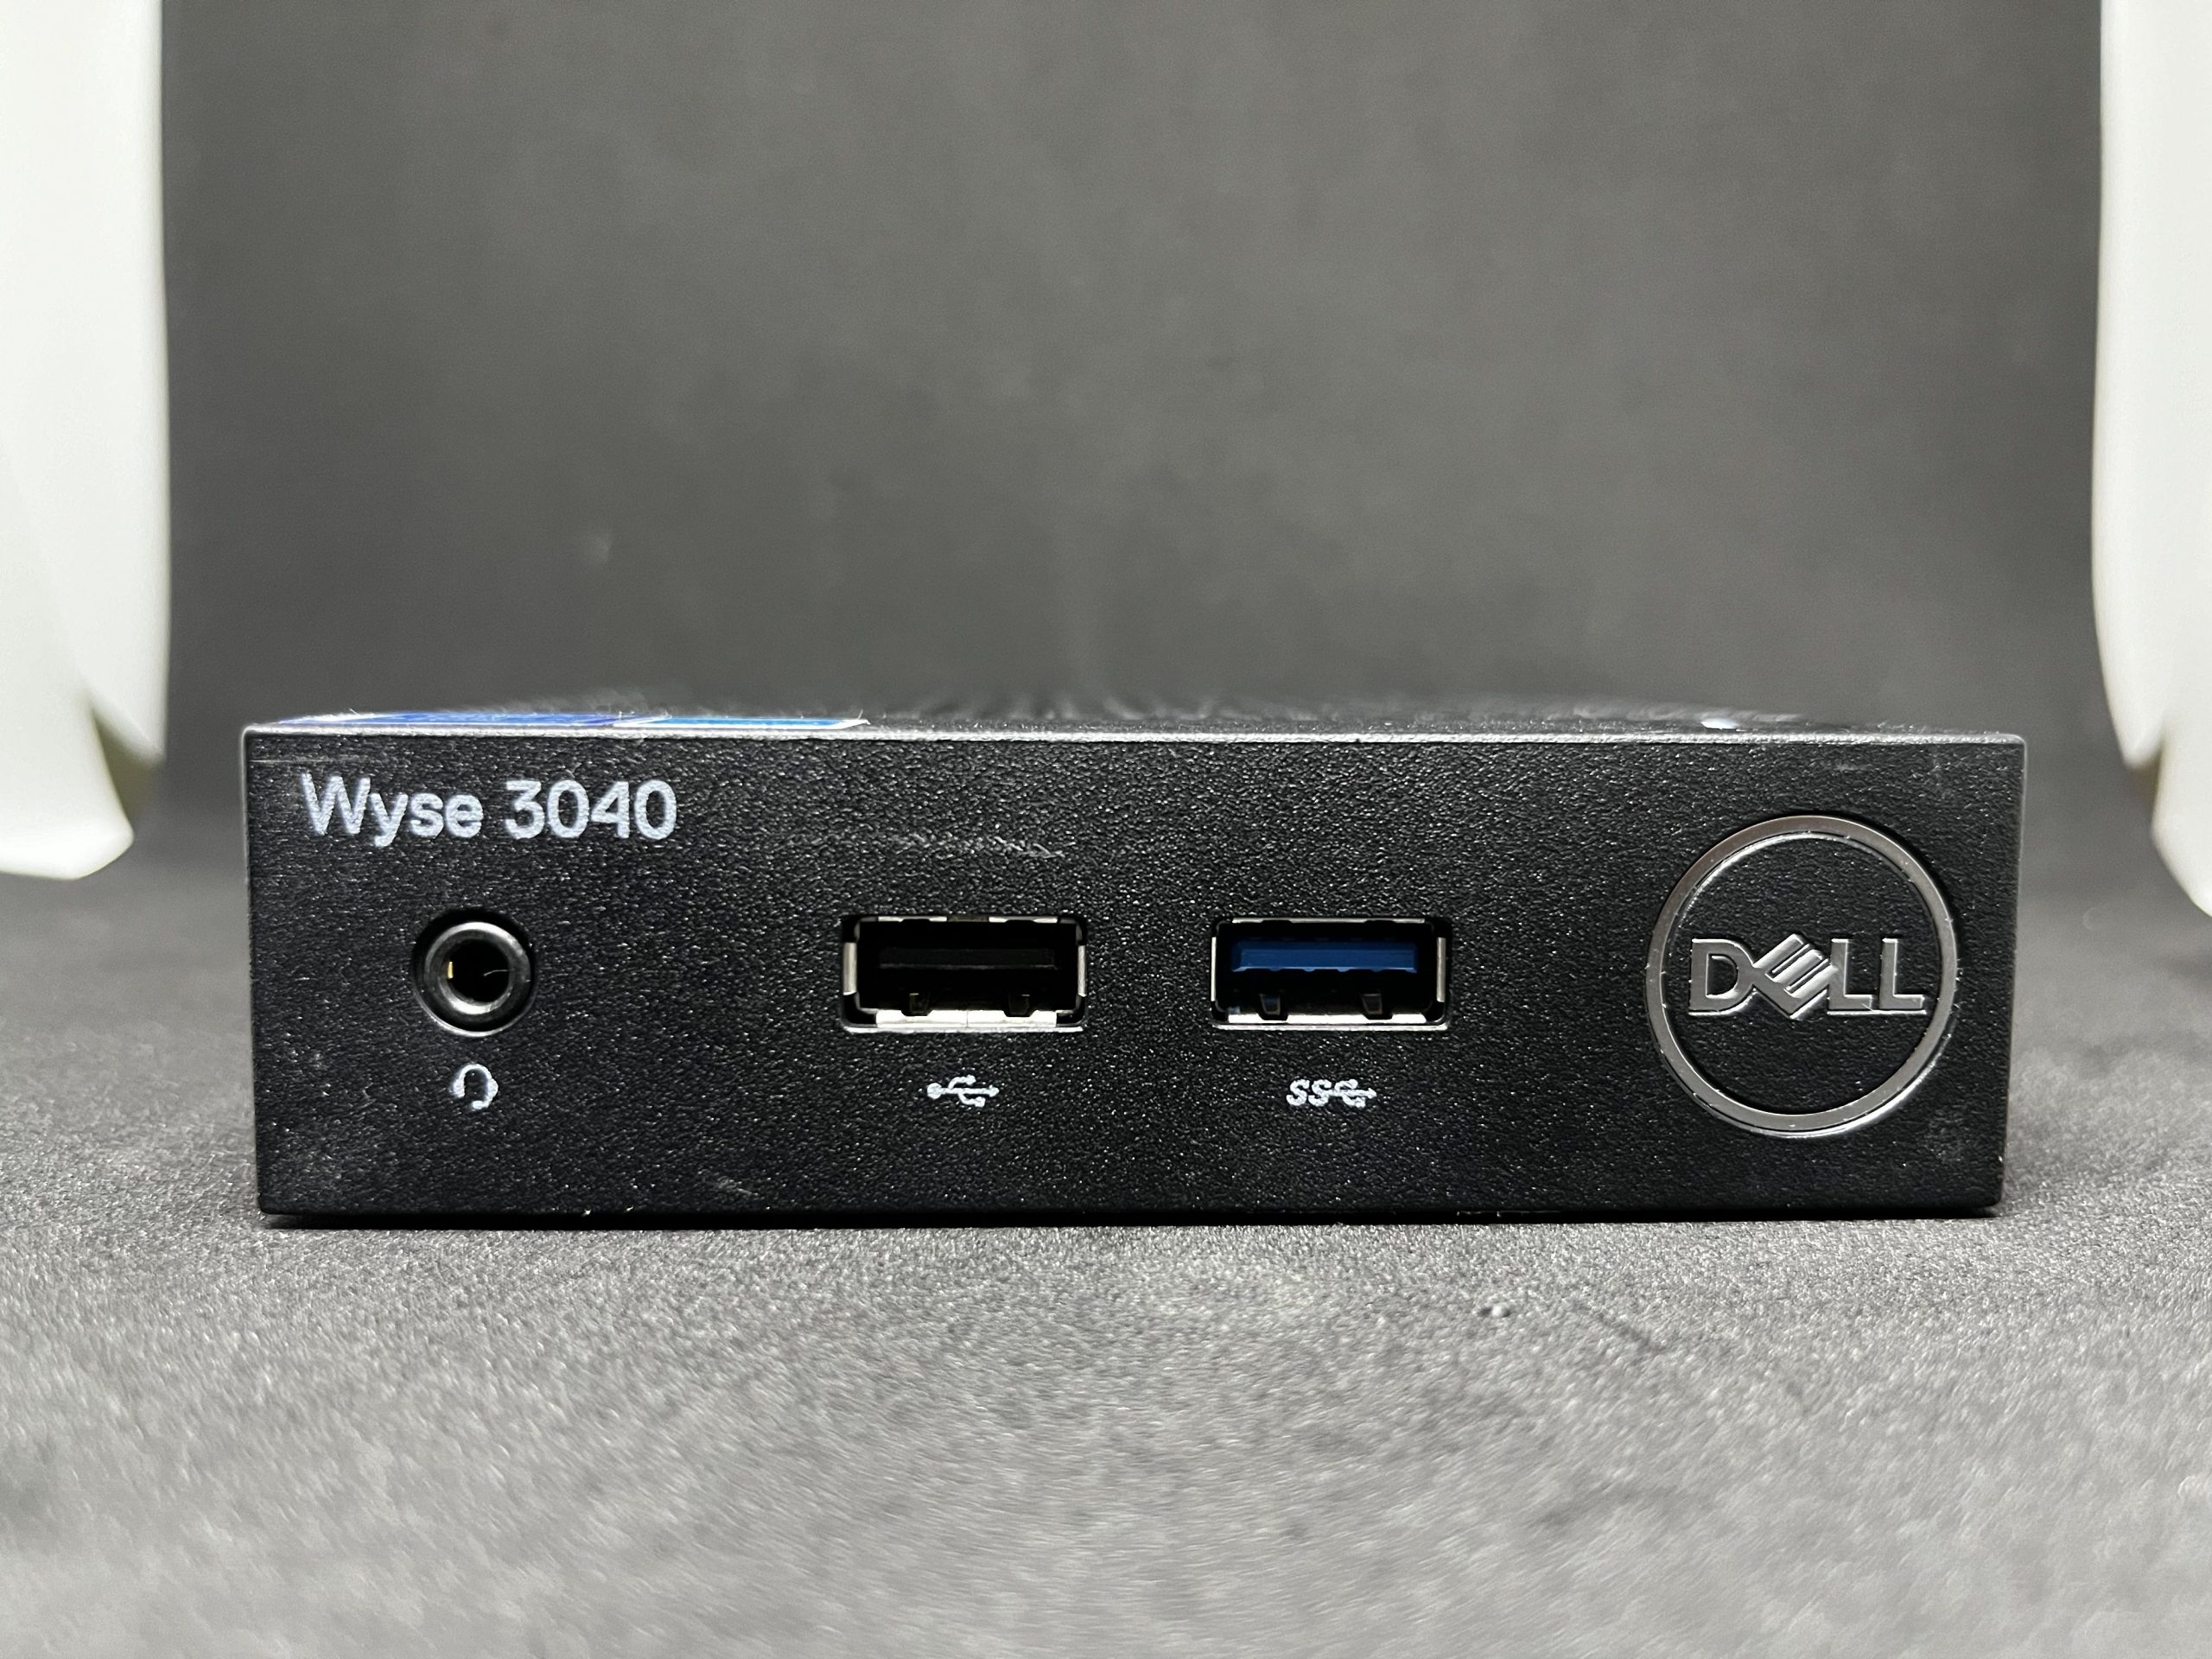
- Grab your newly obtained Dell Wyse 3040 (we will be concentrating primarily on this model, with some steps described below applicable only to the 3040 model, so please be aware of this).
- Upon Boot, press F12 continuously until you are on the Boot selection screen.
- Scroll down to BIOS setup and press Enter.
- As Dell loads into BIOS, you will be greeted with a standard Dell BIOS screen. In order to make changes, you need to hit the Unlock button at the bottom of the screen. The default Dell password for BIOS changes is Fireport. After that, hit the Restore Settings button to restore defaults. It will reboot the machine.
- Once rebooted, go back into BIOS, and after inputting a password, to truly make this a one-time setup machine, go to Power Management – AC Recovery. Select the Power On state. This will ensure that in the event of a power loss, or even an extended power loss, your machine will always automatically turn on without any additional input from you.
- This step already accounts for you having created a bootable USB stick with an Ubuntu Server on it (there are plenty of guides online, you can use this one for example).
- At this point, you reboot your Wyse client once again, previously inserting the bootable USB drive created, pressing F12, and selecting the thumb drive under the UEFI boot option.
- Proceed with Ubuntu installation as normal, specifying your preferred static IP, username/password
After successful installation, there are a few Wyse 3040-specific things we need to address for it to be a truly headless installation.
Now that you are booted to Ubuntu, we need to first fix the automatic reboot that hangs on those Dell thin clients. This is a well-known issue.
1. To fix hanging on shutdown or reboot you would need to edit /etc/modprobe.d/blacklist.conf:
sudo nano /etc/modprobe.d/blacklist.confby adding these lines at the bottom of the file (newbie tip – pay attention to indentations/spaces, otherwise it will not work)
blacklist dw_dmac_core
 install dw_dmac /bin/true
 install dw_dmac_core /bin/true
Then save back the blacklist.conf and run this command before rebooting:
sudo update-initramfs -uThat is it as far as the reboot fix. (Source)
2. Enable auto-login to Ubuntu.
There is a great, detailed manual here. In short, here are the commands to make it happen:
1. Open the /etc/systemd/logind.conf file in a text editor:
sudo nano /etc/systemd/logind.conf2. In the opened file, look for a line that starts with #NAutoVTs= and #ReserveVT= and uncomment it by removing the #.
4. Press CTRL+X to exit and Y and Enter to save the file and exit the text editor.
5. Now, we are going to create a service to auto-login your user. To do so, create a directory named “getty@tty1.service.d” under /etc/systemd/system/ location.
sudo mkdir /etc/systemd/system/getty@tty1.service.d/Use the following command to create a service and open the file in the nano text editor:
sudo nano /etc/systemd/system/getty@tty1.service.d/override.conf6. In the opened file, paste the following lines:
[Service]
ExecStart=
ExecStart=-/sbin/agetty --noissue --autologin username %I $TERM
Type=idle
Replace username with your actual username. Press CTRL+X to exit and Y and Enter to save the file and exit the text editor.
8. Finally, reboot your server to apply the changes:
sudo rebootAfter all of those things are fixed, you can now move on to the easiest part
Installing Pi-Hole
Installing Pi-Hole is as easy as running the command below :
sudo curl -sSL https://install.pi-hole.net | bashAfter you type your admin password, follow on on-screen prompts and make selections pertaining to DNS servers, static IP address selection, and if you would like to install a web interface.
When installation is complete, you will be greeted with a message showing you your Admin Webpage password. Make a note of that.
Before we call this manual complete, go ahead and run:
pihole -a -pThis will prompt you for the new Pi-hole password that you can set to your liking. You will have to type in the password twice.
You are DONE! Now you have a headless, power-loss-recoverable Ubuntu Server running Pi-Hole. Set your devices on the network to use its IP address as DNS, or set it as DNS on your router, and you are off to the races!